


Wintering in the Building
Heating up the Hub

Straw bale buildings are living, breathing systems that interact with the weather to generate warm or cool air inside the building. To build a natural building, or to live in one, adds a layer of connection to nature that is deeply meaningful and reassuring.
Today’s post explains the many ways the straw bale building we call the Hub, stays warm and cozy in the winter.
This might get a bit technical, but I’ll try not to underestimate you, dear reader. Most of us grow up without knowing how a natural building harnesses outside temperature and natural materials to create warmth in the winter and cool air in the summer, without electricity.
There are a few things to learn and some new habits to get used to when you live in a straw bale building, such as checking weather conditions every day. I use that information, along with knowledge about the natural systems inside the building to harness and capture as much warm air as I can.
Straw Bales Insulate
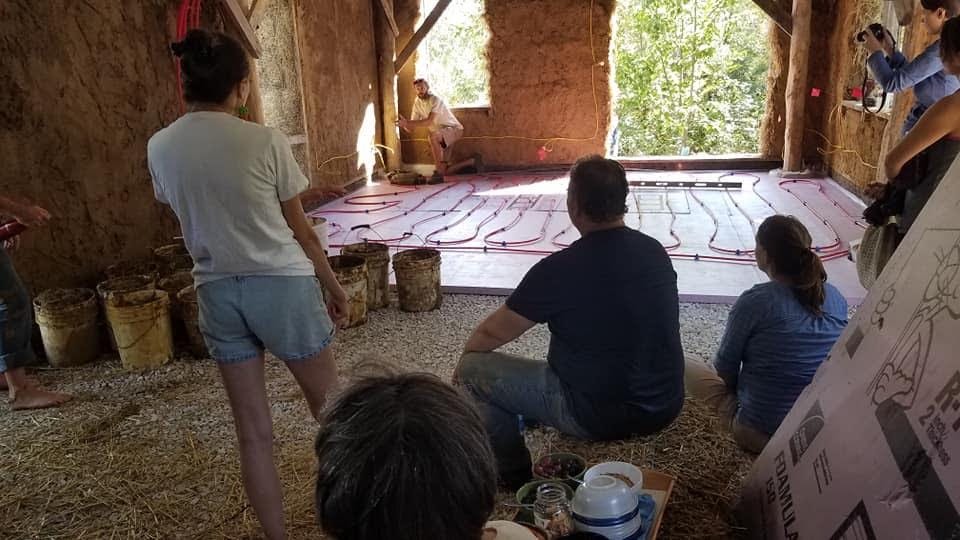
The Hub’s walls are made of stacked straw bales covered with lime plaster on the outside and clay plaster on the inside. The bales, along with rigid foam in the floor and roof and cellulose in the ceiling and the upstairs walls, hold air inside the building. The lime plaster provides a protective surface from weather on the outside of the building and the clay plaster on the inside absorbs and releases air and regulates inside temperature and humidity. The photo below is from a natural building workshop, showing stacked straw bales before they were covered with plaster and radiant floor tubes on rigid foam sitting on gravel. The group is getting ready to add a layer of cob plaster on top of the rigid foam as a subfloor (buckets of cob plaster at the ready on the left).
Passive Solar Gain
Positioning a building so that it has a long south-facing side with plenty of windows, allows low winter sunlight to enter the building, where it is trapped by the straw bale walls and warms absorbent materials, such as the slate tile kitchen floor, clay plaster walls and earthen floor in the living room.
Curtains and Windows
Two winters ago, I spent a few weeks happily sewing thermal curtains for the 11 windows and five doors in the building. Putting a thermal backing on the curtains prevents 40% of cold air from entering through the windows at night.
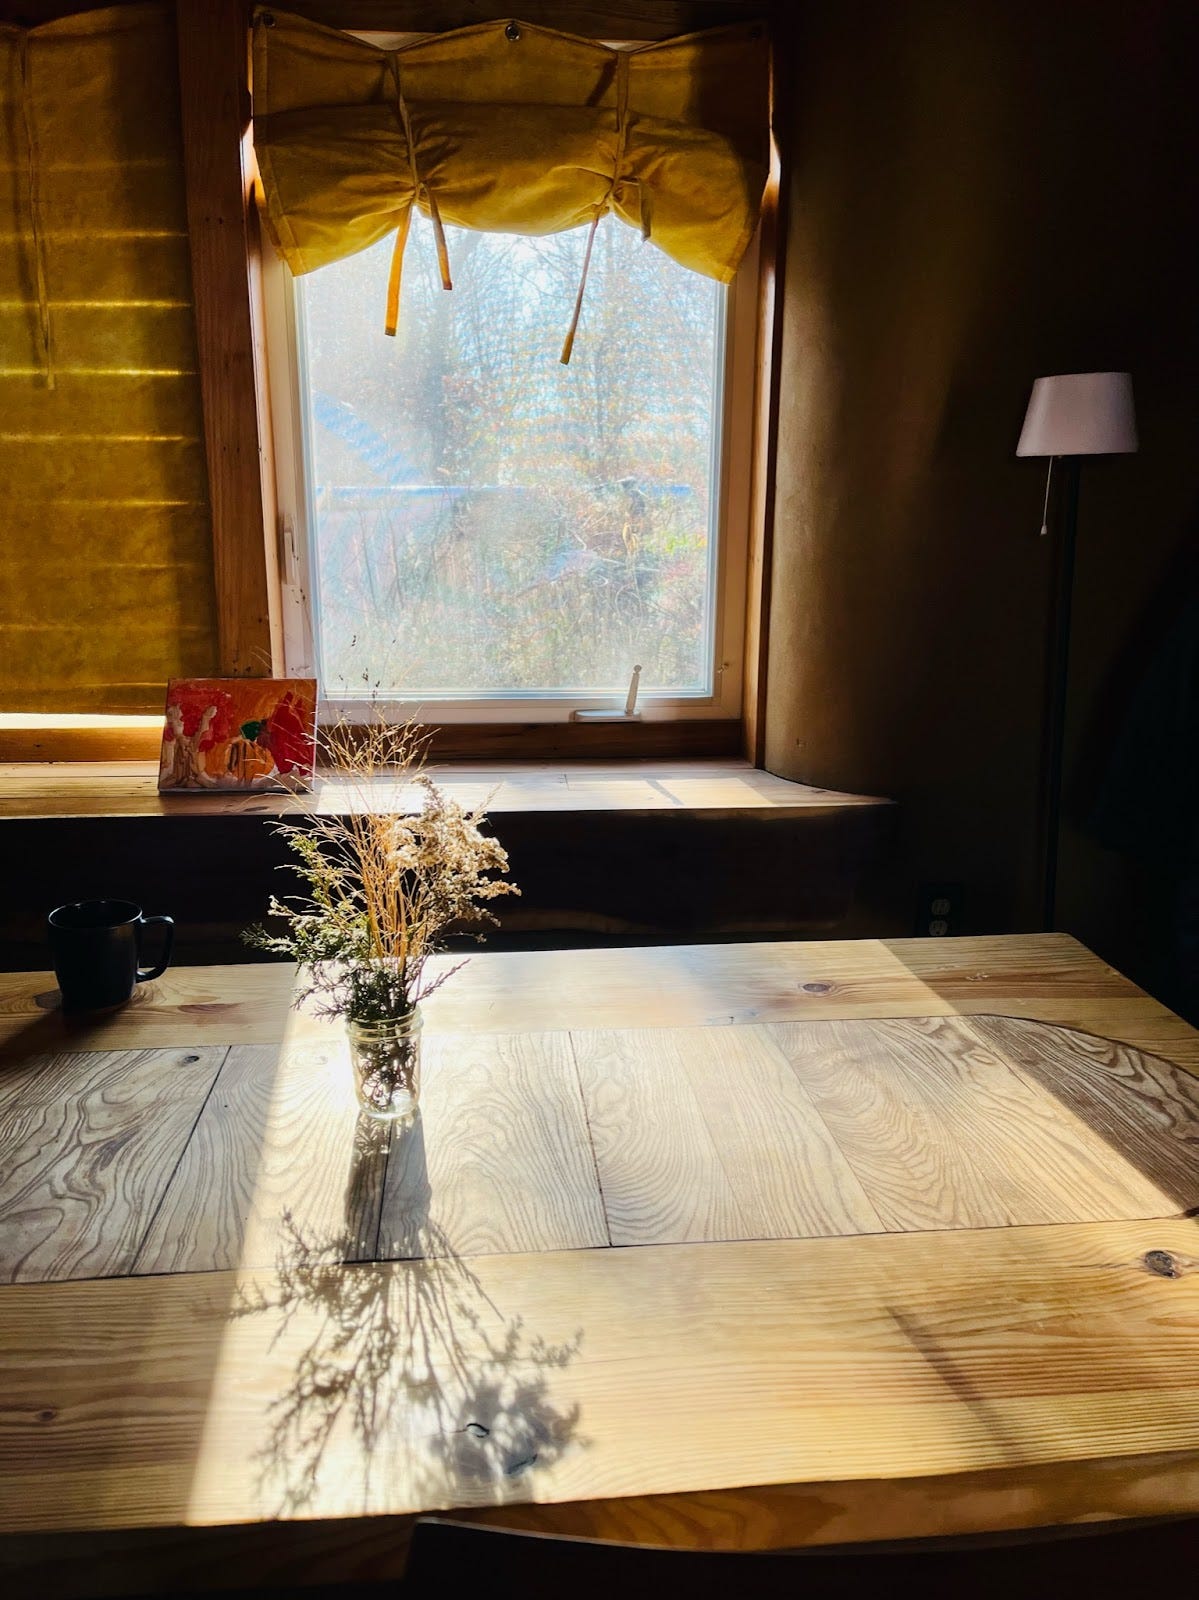
One of the habits for people living at the Hub is the daily winter ritual of opening curtains in the late morning as the temperature warms up, and closing the curtains up snug around 4pm as the sun sets, about the time we run a fire in the masonry heater.
The biggest material expenditure for this project was the cost of the windows and doors. The advice I was given at the time was to purchase new, double-paned windows, to make sure they weren’t warped or otherwise operating sub-optimally. We put in four large windows downstairs on the south side, along with a set of glass-paned French doors.
Soak Up Heat and then Release It
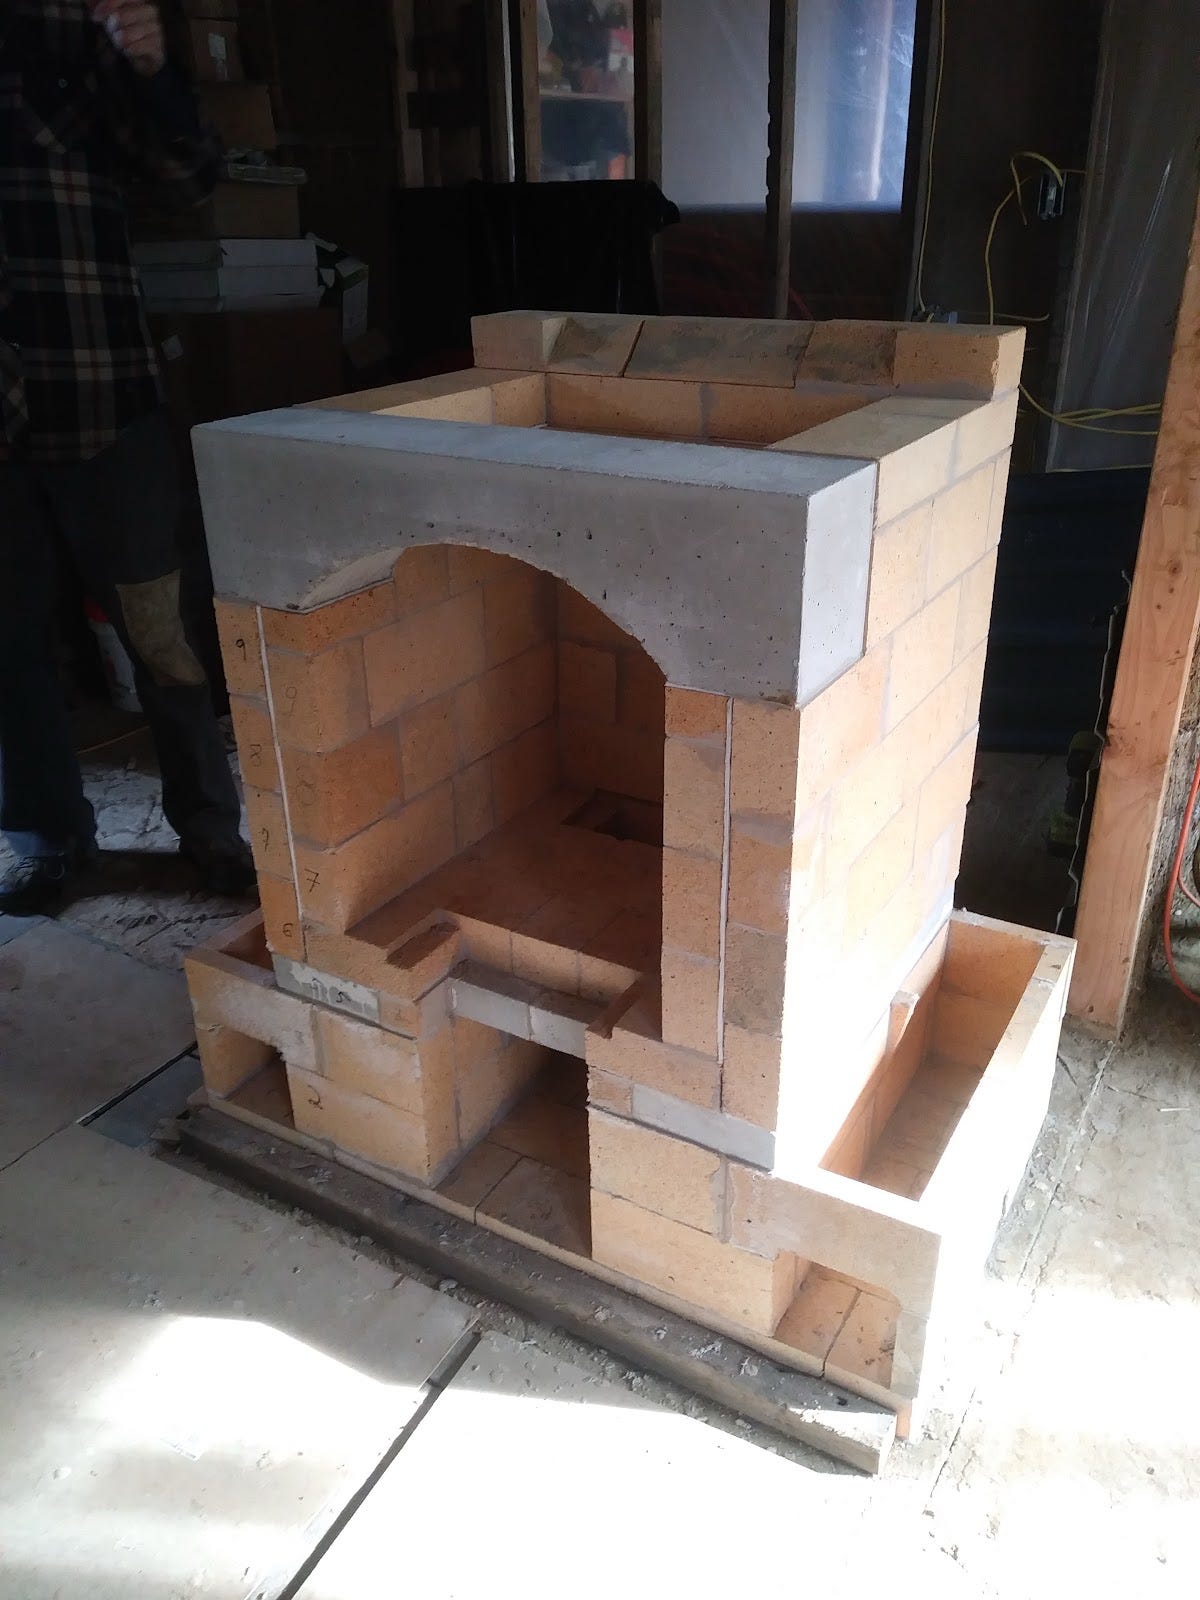
The main materials for soaking up heat are the clay plaster walls and the brick and clay plaster that make up our masonry heater. As other masonry heater builders have mentioned, the heater is fired once a day until outdoor temps go into the teens, and then two fires a day are required. So far this winter, we have had one two-fire day. The photo below shows the internal fire bricks and the beginnings of the air chambers underneath the brick and cob plaster facade.
Heat From Wood
This is our third winter using the masonry heater. As you can see in the photo below, it is not yet complete. This summer we added cob plaster to the sides and the top and blended the sides with the plaster walls that extend to each side.
We also embedded an air duct in the bathroom wall that feeds air into the heater from the outside. Above the glowing firebox is the start of an oven, which still needs a door added.
Making a fire in the heater starts with opening the back of the firebox or “throat” so that there is plenty of air coming into the firebox and exiting up the chimney. As soon as the fire is roaring, I close the throat so that smoke is diverted to air channels on either side of the firebox (not visible). Particles that are not completely combusted get another chance to burn completely in the air channels before the rest is directed up the chimney and out of the building. Heat from the firebox and the channels heats up the bricks on the face of the heater, as well as the cob plaster, which radiates heat long after the fire goes out.
This masonry heater is much more emission free (fewer particles are released into the outside air through the chimney) than a fireplace or a wood stove, and requires less work to heat an entire house.
The firebox of this heater is fairly large and can accommodate large pieces of firewood. Dry kindling (free off cuts from a local furniture maker) and packing paper or newspaper go into starting the fire.
Stacking firewood outside, bringing in firewood and stacking it inside, keeping the supplies stocked and then firing the heater as needed, based on the weather, brings with it a winter rhythm of tasks.
Reliable Source of Heat
I’m a big fan of redundant systems. Being able to have reliable heat, even if the electricity goes out, makes sense to me. Once the door is added to the oven portion of the heater, we will be able to cook if the electricity goes out as well. And with our own solar panels, we will be able to use back up batteries for electricity in the future. If there isn’t enough sun to generate electricity, we have the heater for warmth and some cooking.
What do you think of my heating system? Would you ever live in a natural building?
Leave your thoughts in the comments.